 Apartment Therapy posted a list of 100 DIY Ideas for Memorial Day weekend. But really, these could be used any weekend or anytime you have some time. I might try out the The Floor Cushion and Centerpieces. Evoke your creativity! Try a few ideas to spice up your living area.
Showing posts with label DIY. Show all posts
Showing posts with label DIY. Show all posts
Saturday, May 25, 2013
100 DIY Ideas
Apartment Therapy posted a list of 100 DIY Ideas for Memorial Day weekend. But really, these could be used any weekend or anytime you have some time. I might try out the The Floor Cushion and Centerpieces. Evoke your creativity! Try a few ideas to spice up your living area.

Sunday, March 31, 2013
Home Improvement: Framing a Mirror
We decided to take on a "small" home improvement project this weekend. Taking a regular, builder's grade mirror and transforming it into a pretty framed mirror sounded easy. But as with all projects around the home, it wasn't as easy as we thought and it took more time than we planned. It spanned over two days instead of one. We love how it turned out so I am going to share the steps we took and if you ever want to upgrade a mirror, feel free to use our steps as a guide. Here are a few sites we used to guide us which you might also find helpful: Blue Cricket Design, Southern Hospitality, Sabby in Suburbia
Before and After:

Steps (grouped into multi-steps because we aren't kindergarteners):
1. Measure the mirror, make a visual plan, make a list of materials, and then buy them.
2. Measure carefully and use a miter saw for a clean cut.
3. Prime, paint, and paint again, and again.
4. Wait until the pieces are dry.
5. Use Liquid Nails to attach the pieces. Apply pressure to each piece for a few minutes. Then, use painter's tape to hold the pieces in place.
*If using end pieces, measure and mark where to place the end pieces and where to place the frame pieces.
6. Wait 24 hours, carefully remove the tape, and enjoy your "new" mirror.

Before and After:

Steps (grouped into multi-steps because we aren't kindergarteners):
1. Measure the mirror, make a visual plan, make a list of materials, and then buy them.
 |
We were lucky to not have to deal with mirror clips which protruded from the mirror. The pieces could be placed right over the clips. However, if you run into this issue, visit the Southern Hospitality Website as she explains how to deal with it. |
 |
Measure twice and draw it out! |
 | |
At Home Depot, you can cut your own lengths of composite molding. I would suggest getting a few more inches than needed and cutting it to size with the miter saw at home. We ended up not using the caulk but if you have some spaces between pieces, you will need it. Be sure to get clear. We also got Primer just because we weren't sure how the spray paint would hold on the molding. We had to buy everything except the level, measuring tape, and caulking gun and our total was $44. |
2. Measure carefully and use a miter saw for a clean cut.
 | |
A work bench would have been helpful but this coffee table worked out. Again, be sure to measure twice before cutting. I wouldn't say the saw cut like butter, but it wasn't a challenge either. |
3. Prime, paint, and paint again, and again.
 |
Primer and paint. |
 |
No primer needed on these wood pieces. Make sure you paint the back of each piece because you will be able to see some of it in the reflection of the mirror. |
4. Wait until the pieces are dry.
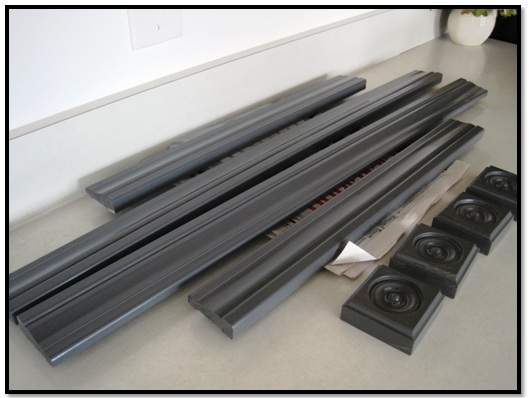 |
We used spray paint and we had to use multiple coats in order for the pieces to look fully covered. This was the most time consuming part but it is definitely important to wait until everything is fully dry. We waited 10-12 hours but we probably could have waited longer. |
5. Use Liquid Nails to attach the pieces. Apply pressure to each piece for a few minutes. Then, use painter's tape to hold the pieces in place.
*If using end pieces, measure and mark where to place the end pieces and where to place the frame pieces.
 |
Don't get Liquid Nails close to the edges. But if it does happen, the glue doesn't stain and is easy to get off of the mirror and the composite molding. It is also easy to get off of your hands. |
 |
The great thing about Liquid Nails is that it doesn't bond immediately so you can move or even remove a piece if needed. But the downside to that is that it doesn't immediately bond when you want it to. I would highly suggest holding each piece in place for a few minutes while applying pressure. We saw some pieces sliding slightly when we didn't do this. |
6. Wait 24 hours, carefully remove the tape, and enjoy your "new" mirror.

Sunday, February 17, 2013
Wreaths
White and Black Burlap Wreath Directions:
Here is a link to the directions I followed for the Burlap Wreath. I would suggest using pins with a ball pin head as is shown in the instructions so the burlap stays in place better. Also, I added some burlap to the sides of the wreath (rather than just on the front) so you can't see any of the foam circle. Here is a link to the flower directions I followed. There was no glue gun used. I just pinned the flowers into place and pinned the decorative pieces as well.
 |
| My first wreath - Fall |
 |
| Winter |
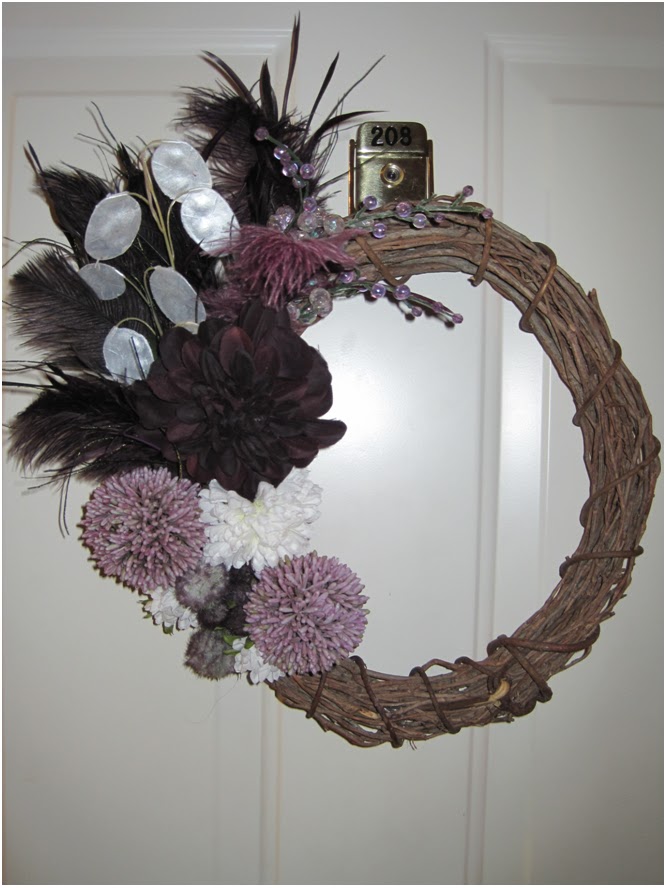 |
| Spring |
 |
| Spring and Summer for my parent's door. |
 |
| Spring and Summer for my door. |
 |
| Another one for Summer. |
  |
| Burlap Wreath |
Monday, November 12, 2012
Wrapping

Saturday, August 25, 2012
Skirt to Wear and Website to View

 After bothering a co-worker/friend to teach me how to make the cool skirts she wore to work, I got the opportunity to do it this summer. The Sangria and Skirts Party was most definitely a success. I am thrilled with the result and thrilled that I actually made something I can wear. For more info on the pattern we used, visit Linda's website, Linda's Other Life. While visiting, take a look at her other fabulous creations as well as her reading, teaching, dining, and traveling life!
Saturday, July 14, 2012
DIY Scarves

Tuesday, July 10, 2012
DIY - Visit Merrick's Art
 |
| My tote. |
Subscribe to:
Posts (Atom)